
Getting started · Step 2 of 5
Understand the eight-step checklist on the home page and the order it puts them in.
A new installation opens on the home page with a checklist at the top. It is the fastest route to a working system, and it ticks itself off as you complete each step.
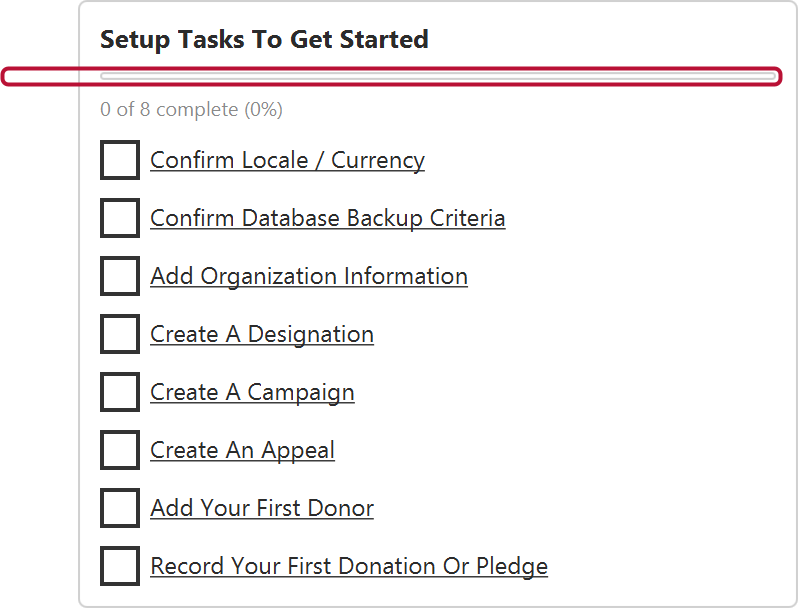
| # | Step | Why it is here |
|---|---|---|
| 1 | Confirm Locale / Currency | Everything monetary depends on it, and it is awkward to change once money is recorded |
| 2 | Confirm Database Backup Criteria | Your data lives on this computer; backups are your responsibility |
| 3 | Add Organization Information | Appears on every receipt and letter you generate |
| 4 | Create A Designation | The fund a gift can be given to |
| 5 | Create A Campaign | The drive a gift belongs to |
| 6 | Create An Appeal | The ask that produced it |
| 7 | Add Your First Donor | Someone to attribute a gift to |
| 8 | Record Your First Donation Or Pledge | Either one completes this step |
Each row is a link to the view that completes it.
Steps 4 to 6 come before step 8 deliberately. Once a designation, campaign and appeal exist, your very first gift can be attributed properly instead of being recorded as an unassigned amount that no report can place.
Steps 7 and 8 do not have to be done by hand. If your donors and this year's gifts are already in a spreadsheet or an export from another donor system, import them:
The import can create funds, drop-down values and custom fields as it goes, and an undo will not remove those even though it removes the imported records. That is one more reason to set up steps 4 to 6 the way you want them first: anything the import invents is yours to tidy up afterwards.