
Getting started · Step 1 of 5
Replay the built-in walkthrough, which explains donation tracking before it explains Mich.
Mich opens its walkthrough the first time you run it. You can replay it whenever you like, and it is worth doing if anyone else will be using the product.
It is not only a feature tour. The first few slides explain donation tracking itself, which is the part most new users actually need.
Go to About, then the Introduction tab.
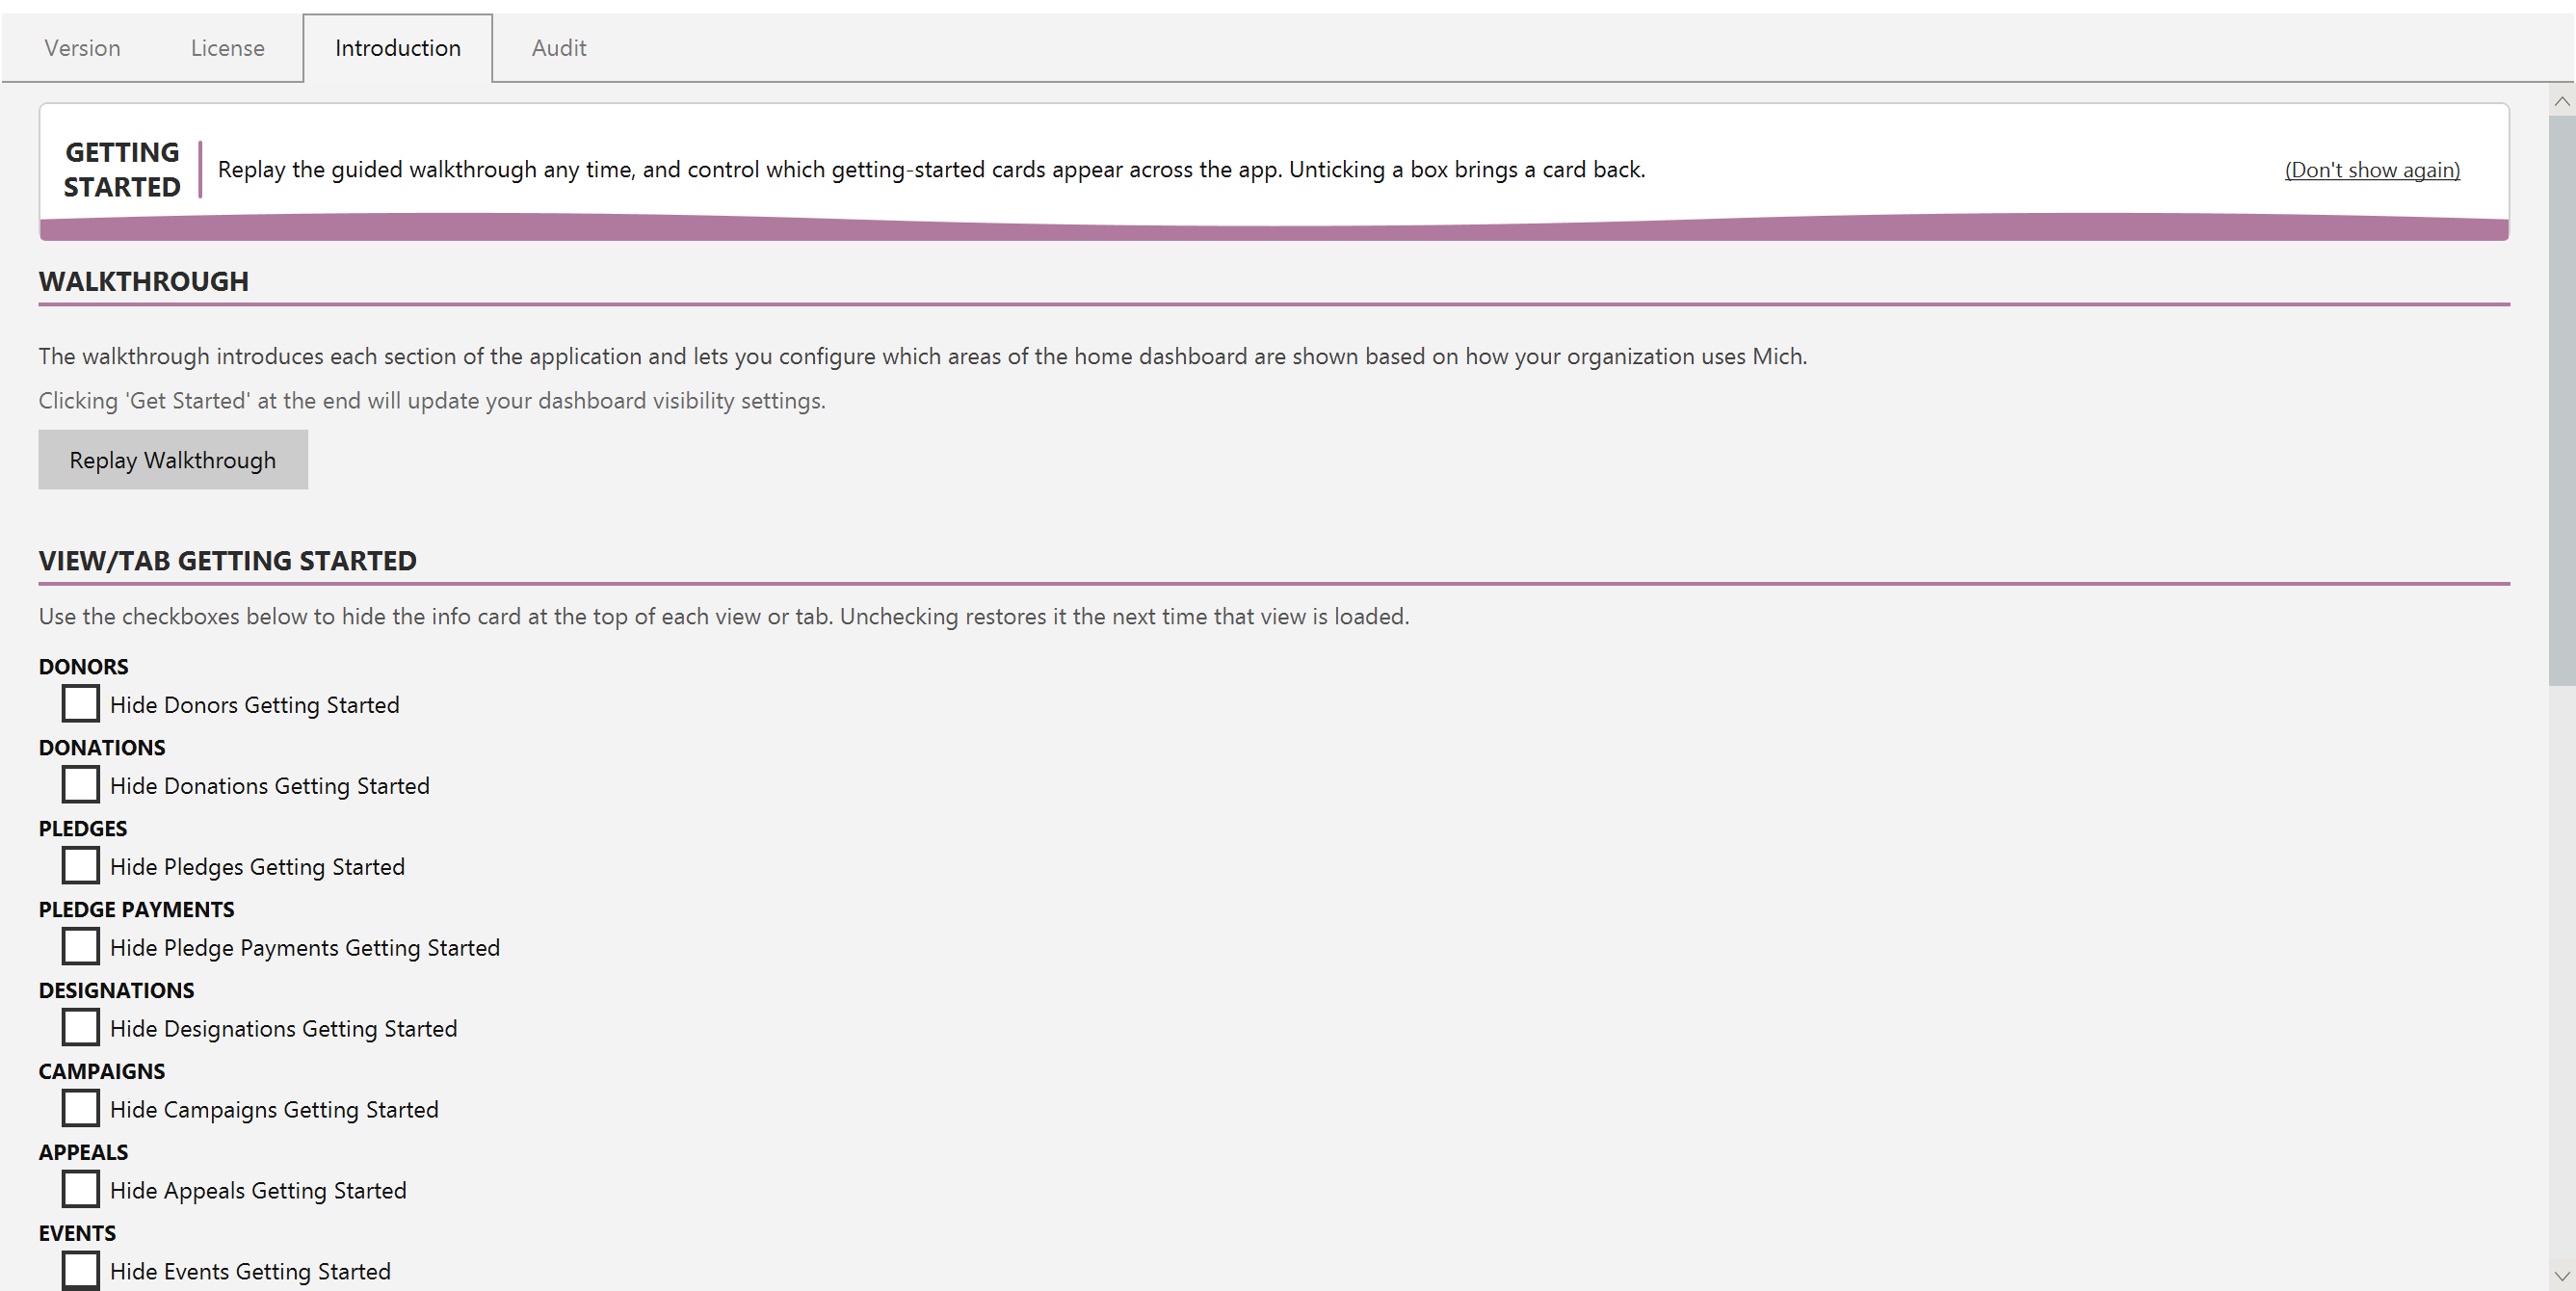
This tab is also where you control the getting-started cards at the top of each view. Ticking a box hides that card; unticking brings it back.
Click Replay Walkthrough.
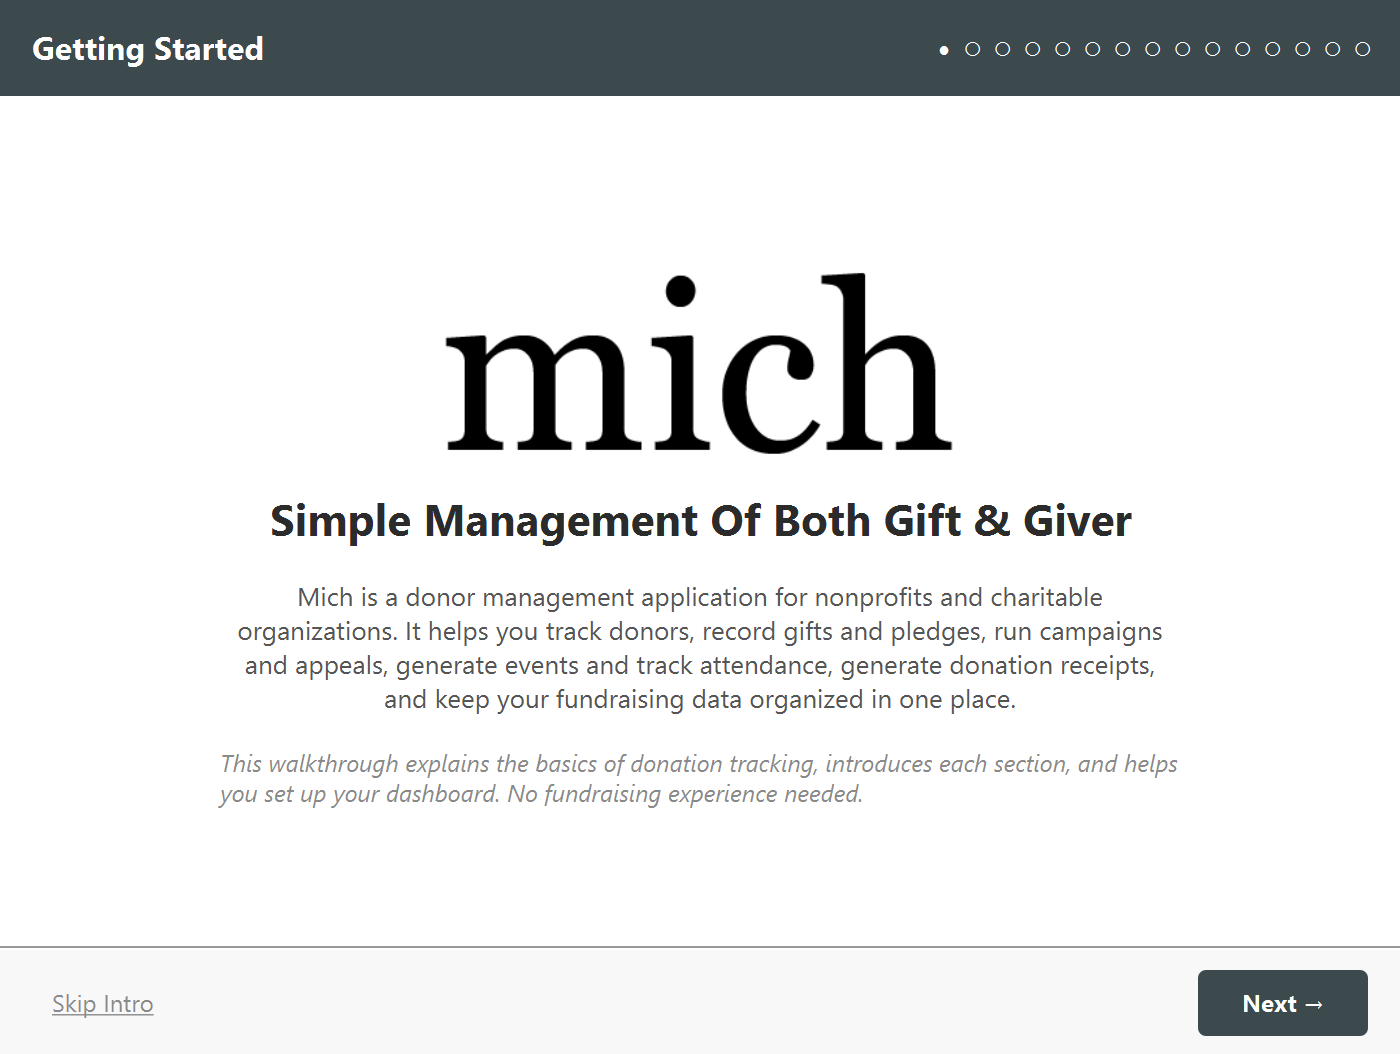
Use Next to advance, Back to return, and Skip Intro to jump to the end.
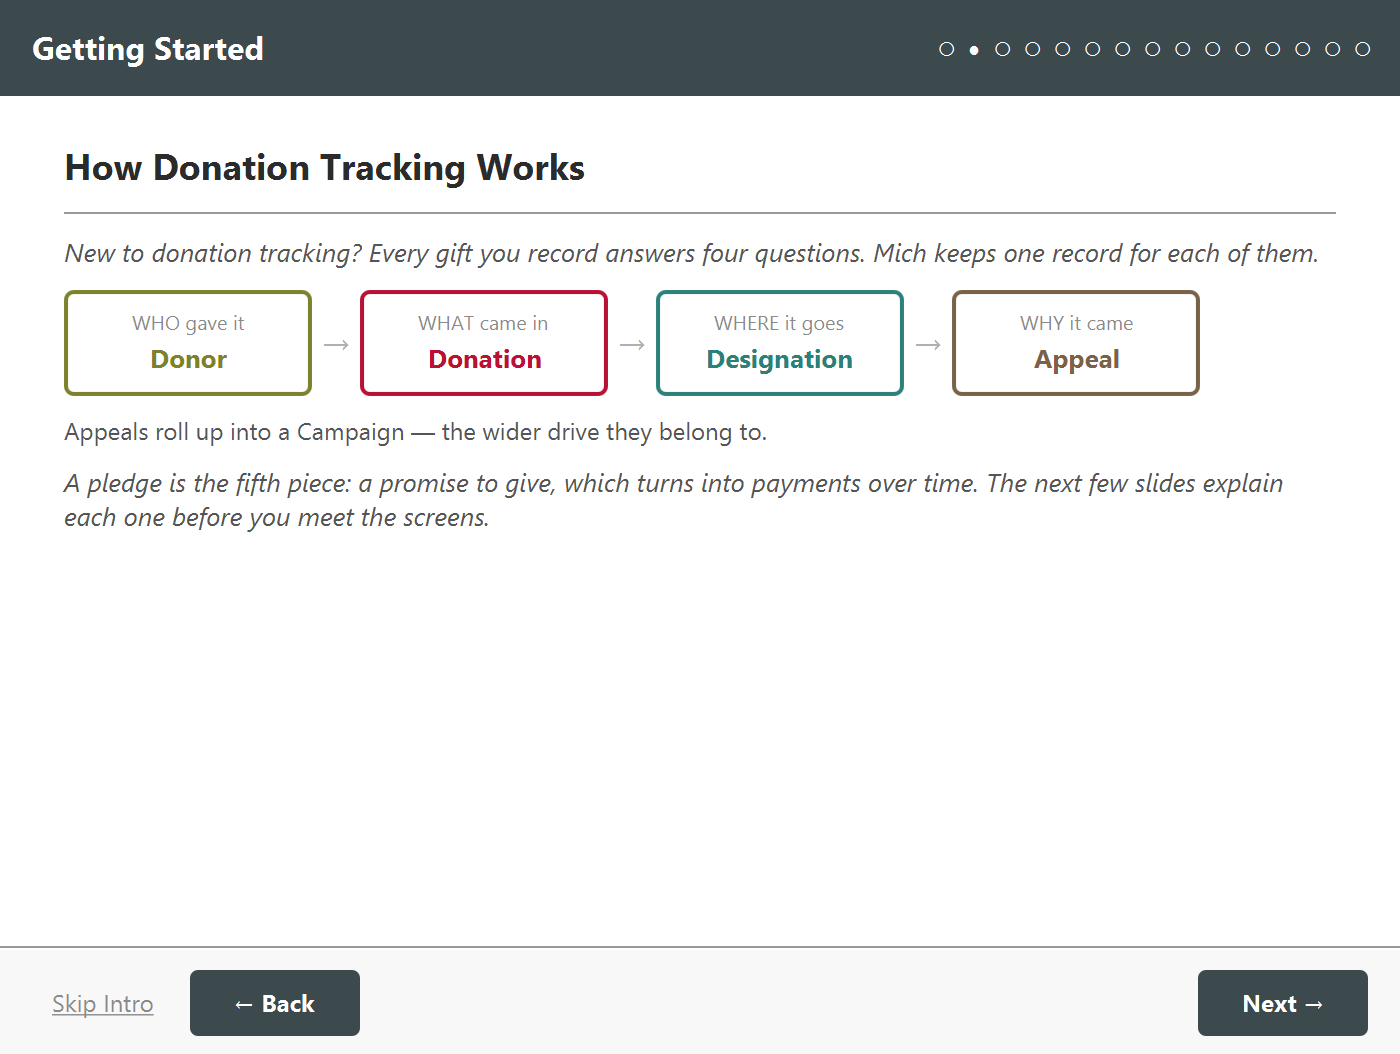
Every gift answers four questions: who gave it, what came in, where it goes, and why it came now. Those four answers are the four record types you will spend most of your time in.
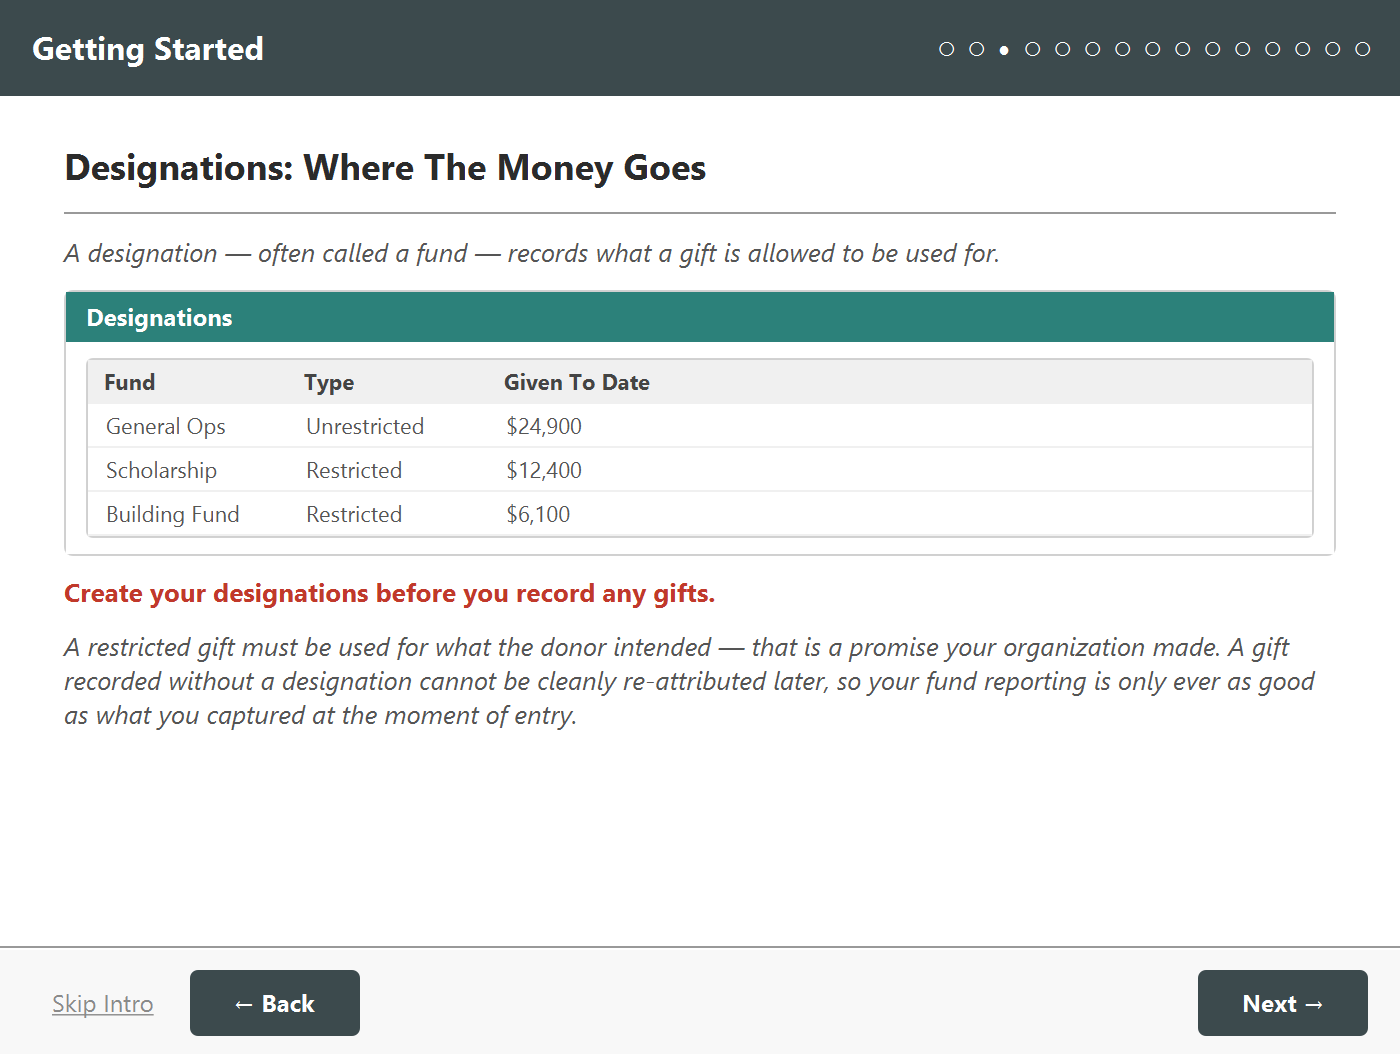
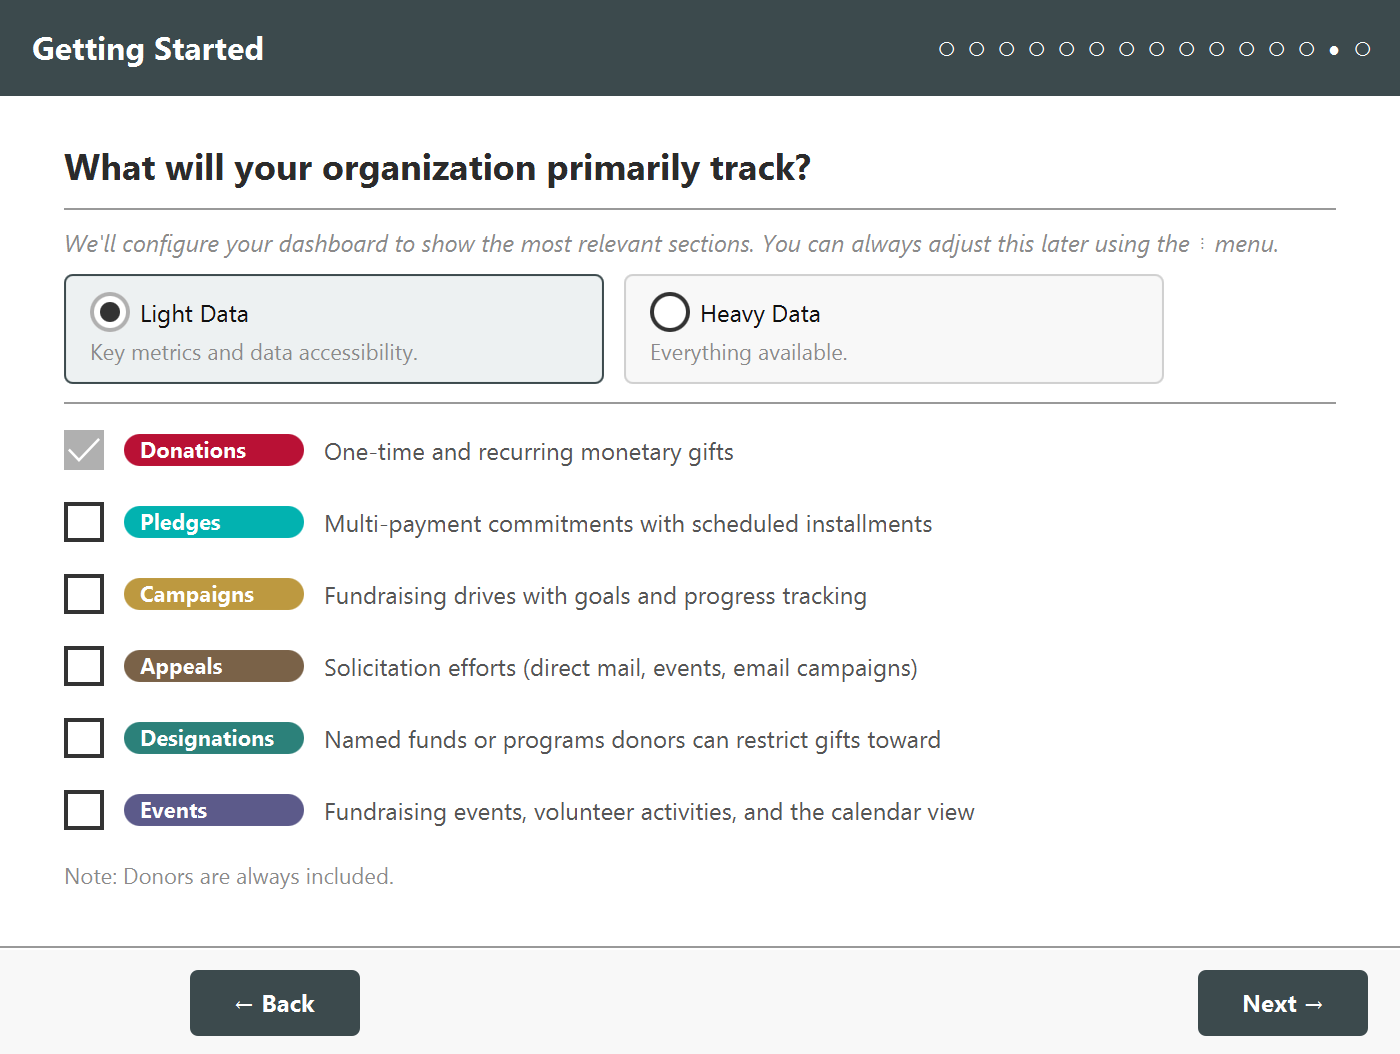
The last slide configures your home dashboard to show the sections matching how you work. Nothing is lost by choosing wrongly: every section can be shown or hidden later from the dashboard itself.